blog
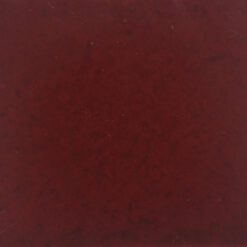
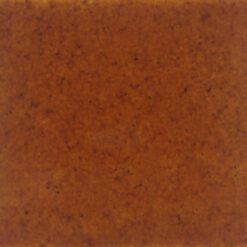
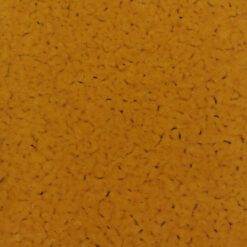
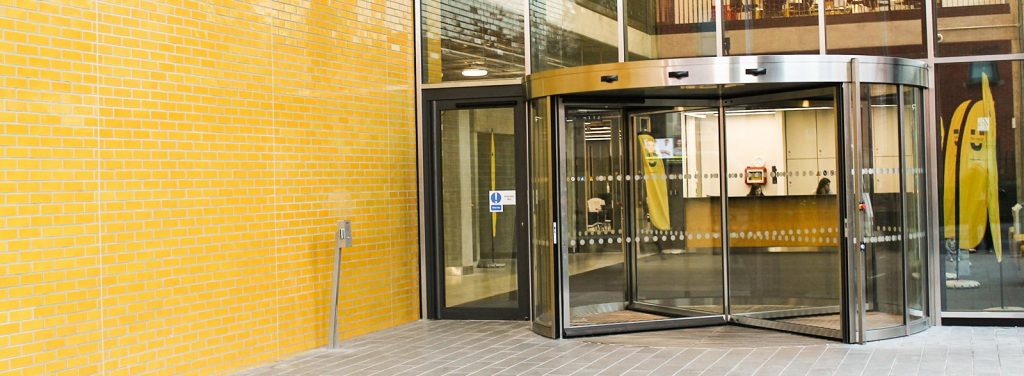
Brick Slip Tile Application
Aug
Brick Slip Tiles Application – This short guide is intended to help you understand how to use our Brick Slips to create a distinctive brick slip tiles feature wall. This two-part guide will concentrate on those aspects involved in the creation of a flat feature wall, though it is, of course, possible to create more complex features with corners.
Part 1 – Preparation before creating a Feature Wall
Quick Checklist for a Flat Feature Wall Brick Slip Tiles Project
For a flat feature wall with no reveals (i.e. doors, windows and alcoves) you should collect the following essential information, The height and width of the wall in metres and the base surface material of the wall to be tiled.
STEP 1 – Measuring for Brick Slip Tiles
It is worth taking measurements on all sides its walls and ceilings are often not at a perfect angle! If there is any difference in heights and widths measured at either end it is usual practise to take the average. Once you have measured the height and width simply multiply them together to calculate the number of square metres required. Most UK brick slip suppliers sell their brick slips in half square metre boxes. This is based on using them with a 10mm joint. This will help you estimate the number of boxes of brick slip tiles required. If you are in any doubt at this stage, feel free to contact our office and we will be happy to help advise you. Please note that it is worth allowing for the occasional breakage during the job so we suggest you order at least a few more tiles that the calculated area to allow for the odd cracked tile. This way you can avoid unfortunate project delays when employing tilers.
STEP 2 – Adhesive Selection
As a general rule you can use a fast setting flexible wall tile adhesive where the wall surface is soaks up water (i.e. porous). If you are wishing to bond onto non-porous surface like steel or plastic you will require a epoxy glue.
STEP 3 – Surface Preparation for Brick Slip Tiles
Preparation is key in any interior project and never more so than when applying wall tiles. Accordingly, you need to make sure the surface you intend to apply the brick slip tiles to is free of dust and is also structurally sound. If the wall itself is not sound, you fill first need to address this issue. This can be done by either removing any loose material or if this is not a viable option you can “over sheath” the target surface with a suitable wall tile backer board.
STEP 4 – Keying the Surface
Depending on the condition of the wall, you may need to ‘key’ the surface. With a ‘virgin’ wall you do not need to key the surface, although you may still need to prime it. On the other hand, if the surface has been painted, it is very important that you should ‘key’ (score through with a Stanley knife or sharp tool) in order to get through the paint to the underlying surface as this will enable the wall tile adhesive to properly bond to the underlying wall substrate rather than to the paint!
STEP 5 – Priming the Surface
We recommend that if you are planning on priming a wall you should use an acrylic primer specifically designed for that purpose. These primers can assist adhesion when you working with dusty substrate materials such as gypsum based surfaces. By using a suitable primer you are making sure that you stabilises the surface prior to the application of brick slip tiles.
Once these steps are complete, you are ready to go!
For further details or to discuss your requirements for brick slips Brick Slips UK, please call H&E Smith on 01782 281617 or contact us using our quick contact form and we will endeavour to help you with your project.